I've posted about these
coasters that I've made before, but I wanted to do more of a tutorial for you in case you're interested in making them.

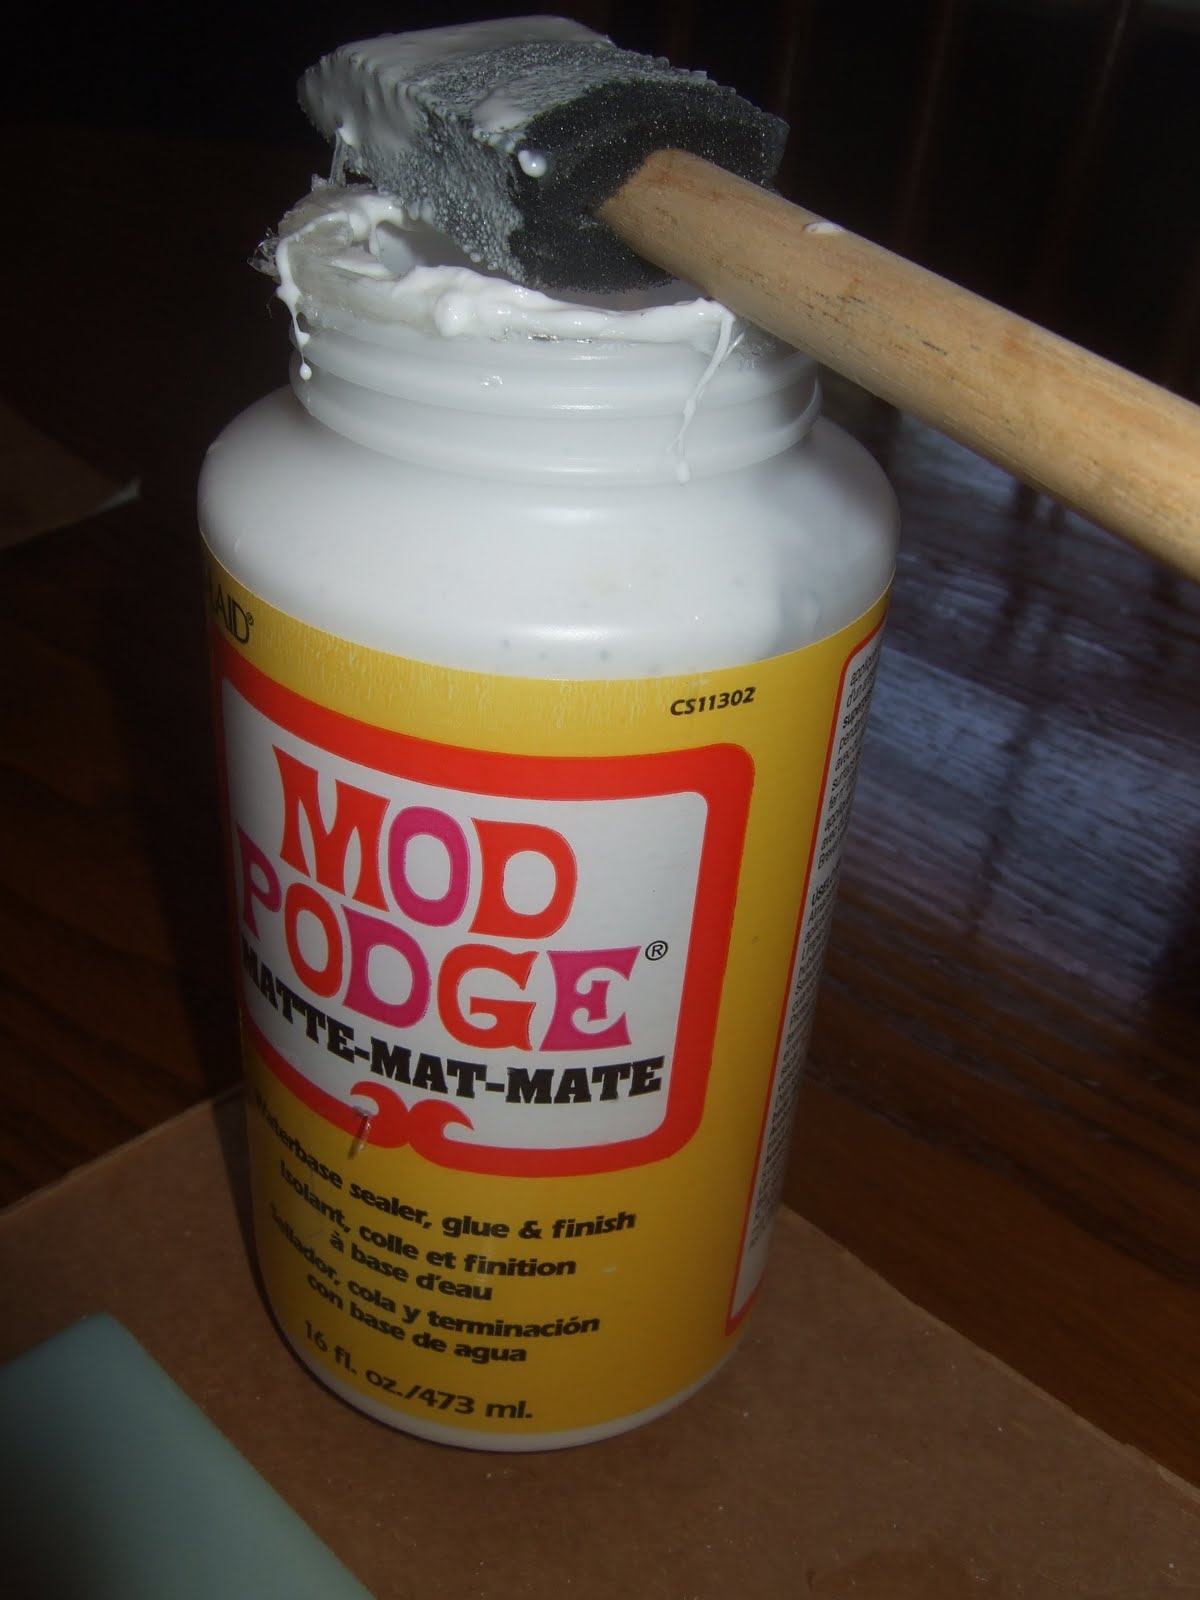
You will need 4 tiles which you can purchase individually at any Home Improvement store. You will also need some Mod Podge and a brush to apply the Mod Podge, some cork for the backing. Then last, but certainly not least you will need some scrapbook paper. You can also use Polycrylic to top it with, but that is optional.

You will need to cut the scrapbook paper and cork to fit the tile. I don't have a paper cutter, so I use what I have. I have a Fiskars cutting mat (which is for cutting fabric), a rotary cutter, and a large clear acrylic ruler. When applying the scrapbook paper to the tile, I use a credit card (actually a grocery savings card) and make sure there are no bubbles under the paper. Start from the center and go out. After the paper is on, I take my fingers around the edges to make sure it is sealed. This is an important step! The reason why is if the paper edges aren't sealed, you put the polycrylic on and it will go through the paper. It then doesn't look as pretty.

I apply at least 3 thin coats of Mod Podge. Apply one coat then let dry then apply another coat and on and on. In this picture you can see where the Mod Podge is still wet. Try to do uniform strokes when applying the Mod Podge. You will be able to see a few strokes after it is dry.
It is then optional to apply some polycrylic to make it shiny.

I forgot to take a picture of the backing of the purple coasters, but here is the cork backing from another set I made. I did a search online as to where to find thin cork. There are several places that sell it online but it is expensive! I'm going to let you in on a little secret..... Shh..... You can buy shelf liner that is made of cork and it has an adhesive on it to stick to the shelving. Isn't that great and it's usually less then $10 a roll! The shelf liner cork has graphing on the back so you can cut it in a straight line. However I just used my rotary cutter and cutting mat to cut the cork also.

and here is one of the finished projects all tied up.
I just bought some more cute scrapbook paper today to put on other coasters. I have posted a few I've made in the past
here in my store. I have several others made but just need to get around to get them posted vs. browsing around on others blogs. :)
Let me know if you have any questions about them and feel free to comment! I love comments. :)
I was featured over at Craft Gossip!

Joining these linky parties: