You will need 4 tiles which you can purchase individually at any Home Improvement store. You will also need some Mod Podge and a brush to apply the Mod Podge, some cork for the backing. Then last, but certainly not least you will need some scrapbook paper. You can also use Polycrylic to top it with, but that is optional.

You will need to cut the scrapbook paper and cork to fit the tile. I don't have a paper cutter, so I use what I have. I have a Fiskars cutting mat (which is for cutting fabric), a rotary cutter, and a large clear acrylic ruler. When applying the scrapbook paper to the tile, I use a credit card (actually a grocery savings card) and make sure there are no bubbles under the paper. Start from the center and go out. After the paper is on, I take my fingers around the edges to make sure it is sealed. This is an important step! The reason why is if the paper edges aren't sealed, you put the polycrylic on and it will go through the paper. It then doesn't look as pretty.

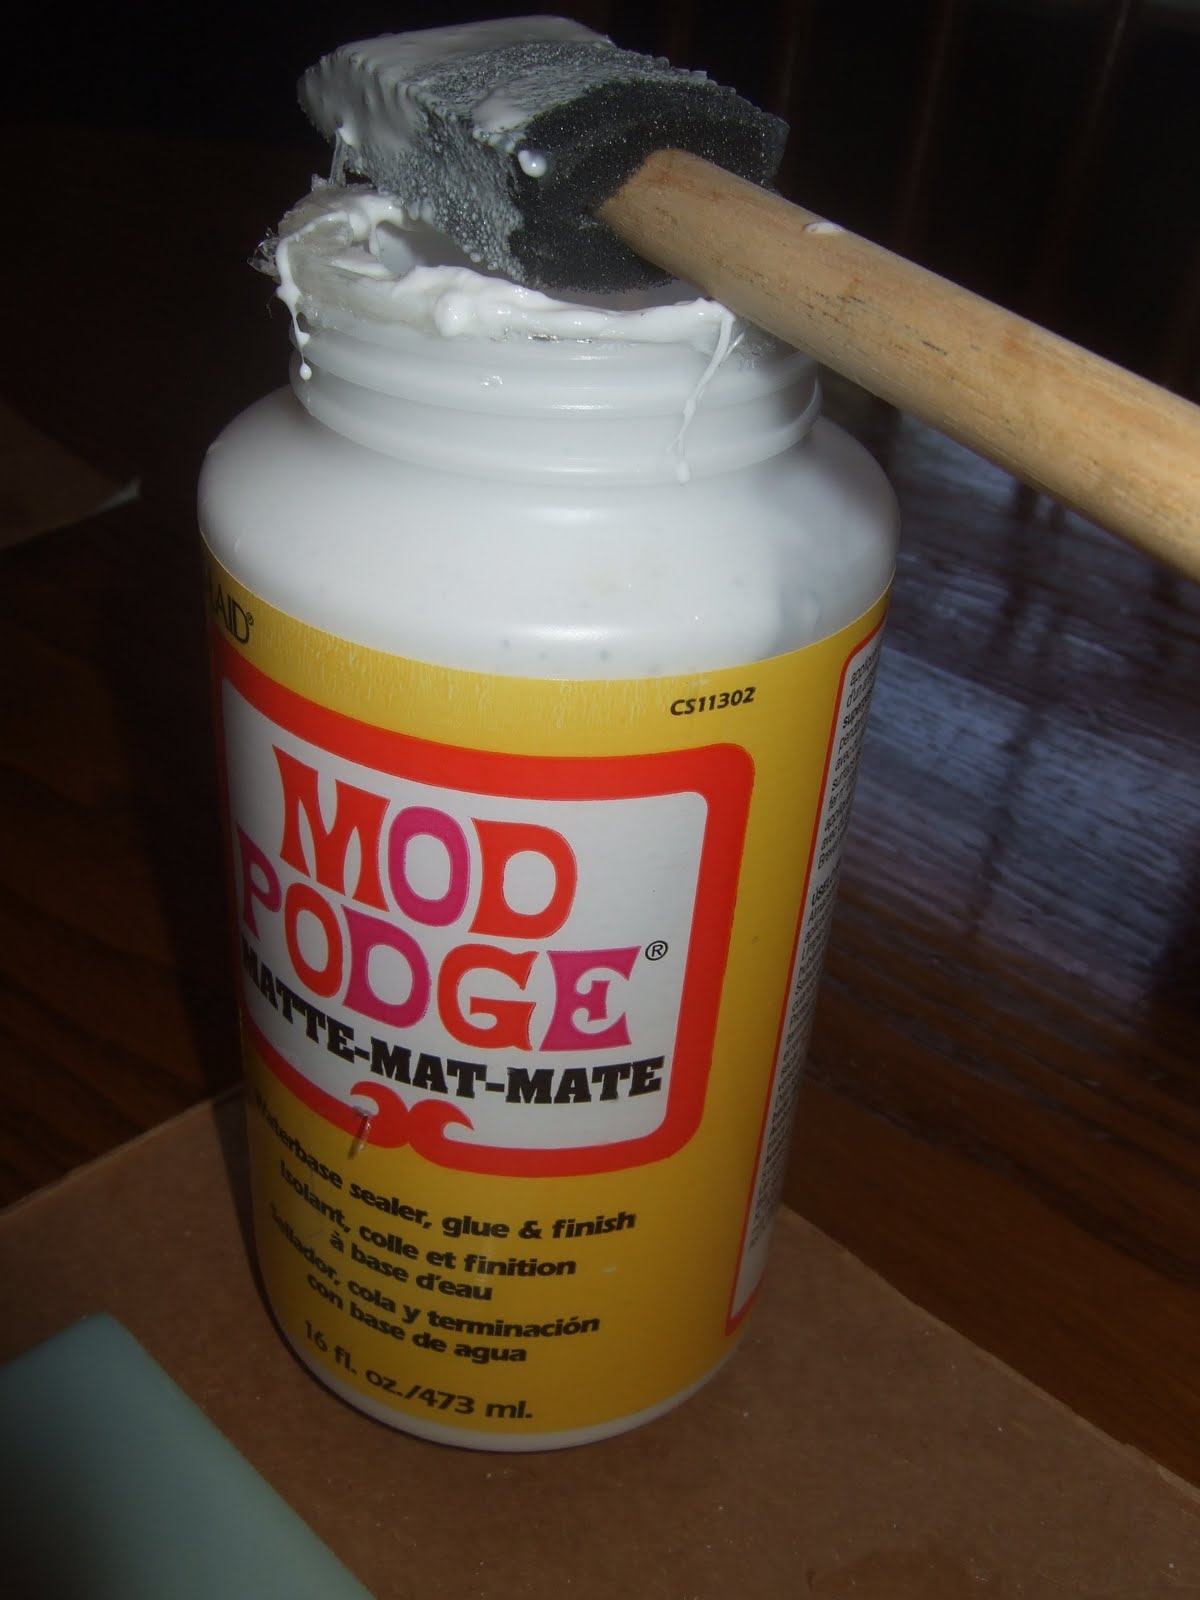
I apply at least 3 thin coats of Mod Podge. Apply one coat then let dry then apply another coat and on and on. In this picture you can see where the Mod Podge is still wet. Try to do uniform strokes when applying the Mod Podge. You will be able to see a few strokes after it is dry.
It is then optional to apply some polycrylic to make it shiny.

I forgot to take a picture of the backing of the purple coasters, but here is the cork backing from another set I made. I did a search online as to where to find thin cork. There are several places that sell it online but it is expensive! I'm going to let you in on a little secret..... Shh..... You can buy shelf liner that is made of cork and it has an adhesive on it to stick to the shelving. Isn't that great and it's usually less then $10 a roll! The shelf liner cork has graphing on the back so you can cut it in a straight line. However I just used my rotary cutter and cutting mat to cut the cork also.

and here is one of the finished projects all tied up.
I just bought some more cute scrapbook paper today to put on other coasters. I have posted a few I've made in the past here in my store. I have several others made but just need to get around to get them posted vs. browsing around on others blogs. :)
Let me know if you have any questions about them and feel free to comment! I love comments. :)
I was featured over at Craft Gossip!

Joining these linky parties:


Hi there
ReplyDeleteI love these coasters - I have so many old tiles in my shed, now I know what I can do with them!
I'd love if you'd link up to my new party "A Round Tuit" at
http://jembellish.blogspot.com/2010/08/round-tuit-9.html
Have a great week! and thanks for the inspiration!
Very cute! And I love your owl background. It rocks.
ReplyDeleteI need to make some of these... I need some cute coasters in my family room.
ReplyDeleteCute paper, and I love that you added a protective bottom... I have seen these in blog land.. and this year I THINK I will go ahead and make some for Christmas gifts. Thanks so much for linking. Have a super night. Jenn
ReplyDeletevery pretty~ and so simple to make!
ReplyDeleteI just wanted to stop by and let you know that I will be linked to this post tomorrow from the new Home & Garden channel at Craft Gossip. :) My hope is to share many of the fabulous projects I see everyday with the vast CG audience. I hope you will not only stop by and subscribe to CG, but will tell your friends about the new category! Hope you see some traffic from it!
ReplyDeleteYour feature will appear in the main Craft Gossip RSS feed, on the main home page. While it's not live yet (scheduled for tomorrow) and can be found directly here
http://homeandgarden.craftgossip.com/tile-coasters/
If you would like a "featured by" button, you can grab one here!
http://homeandgarden.craftgossip.com/grab-a-craft-gossip-button/
These are so pretty! Thank you for the tutorial.
ReplyDeletecute! great tip about the cork liner! shhhh I won't tell anyone! ;)
ReplyDeletegail
Thanks everyone and a special thanks to Amanda for featuring me on Craft Gossip! :)
ReplyDeleteThese are awesome! Now I have a great new way to use my scrapbook paper - thanks!
ReplyDeleteGreat blog - I'm your newest follower. Found you on craftgossip.com. LOVE these tile coasters - I've been looking for a way to turn maps from our Hawaii vacation into coater memoirs and this should work very well! Thanks too for the tip on the cork - I can't wait to make these!
ReplyDeleteThanks again for sharing the tute - I finally got around to blogging my version which I love. Made some for myself and also a set as a gift for sis' birthday. Check 'em out:
ReplyDeletehttp://desertdrivelblog.blogspot.com/2010/10/memoir-tile-coasters.html
I think marble drink coasters are perhaps the most elegant of all. They add to the decor of any room and add a touch of class to the furniture.
ReplyDeletePersonalized Paper Coaster